The formation of window tint bubbles is a common concern you would come across when installing window tints. Most often, the window tint bubbles would go away with time and is completely normal. But some would never go away and would need your attention.
If these bubbles continue to exist for long, even after the curing of tint, you would have to get rid of them. If not, you would have to face many negative consequences such as unclear vision while driving due to this ‘Bubble Effect.’ It would also deflect light, especially while driving at night. This would even cause a potential threat in causing accidents and risking the lives of the passengers.
Here are some of the things you need to know about getting window tint bubbles after install. Read ahead and identify the causes, precautions, and removal of these tint bubbles.
Table of Contents
Why do Window Tint Bubbles Occur?
Window tint bubbles would be of few types depending on what is contained inside these bubbles. These could either be water bubbles, air bubbles, soap bubbles, or dirt, debris, and contamination bubbles. Let’s identify each of these.
- Water Bubbles
- Avoid too much pressure on the
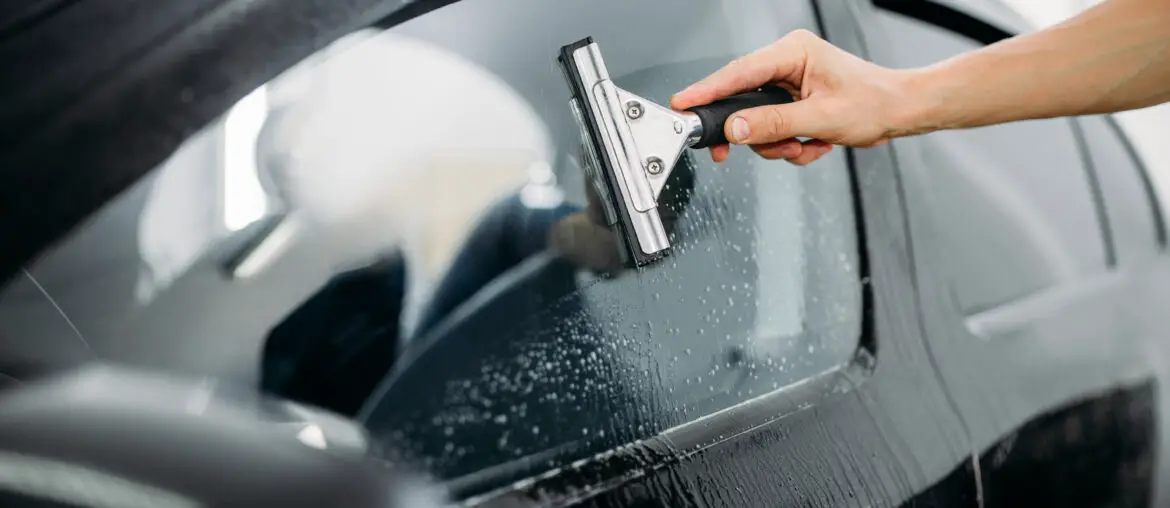
The occurrence of window tint water bubbles is also known as “blistering” and is a perfectly normal situation on a freshly tinted window. It would get evaporated over time through the film of tint, which is porous.
- Air Bubbles
These would get smaller with time but will not completely go away. These would occur as a result of inadequate preparation of the installer and would require reinstallation of new window tints if it keeps on growing and make the adhesive less efficient.
- Soap Bubbles
You can differentiate a soap bubble from a water bubble by inspecting the film from both sides. A whitish residue on the bubble indicates a soap bubble. If the color is indifferent on both sides, it would be a water bubble.
- Dirt, Debris, and Contamination Bubbles
This would most likely get larger with time, as the tint cures. This difference can show the difference between an ordinary water bubble and a contamination bubble. As it is obvious, these would not go away on their own and needs to be re-tinted to overcome completely.
How Long Do Bubbles Stay in Window Tint?
After a fresh installment of a new window tint, it is normal to have window tint bubbles stay for a week or ten days. This would depend on the amount of sunlight exposure and the temperature of the area. However, if these bubbles continue to linger even after ten or fourteen days, then you would need to contact your installer or a suitable professional to get their opinion on methods to overcome this condition. We also have some ideas in this text to help you overcome such a situation.
How to Prevent Window Tint Bubbles
When talking about window tint bubbles, the most general idea that would come to your mind would be the blisters or the water bubbles. These would develop and spread across the whole tint by dividing into small ones or getting collected to create few large bubbles. These might even occur after installation due to adhesive failures. These are speeded up by the UV radiation as it increases more failure in the adhesive.
Prevention of using poor-quality films can help prevent the formation of window tint bubbles. So, choose the ideal type for best results by referring to Types of Window Tint.
Unskilled work would also be a cause behind this. So, always make sure to go for professional help and guidance. If you still want to do it yourself, follow proper installation procedures. For more information, refer to How to Tint Car Windows.
Thorough cleaning and good preparation before installation can also help in preventing tint bubbles. Even after installation, maintain the window tints well with care. Get more details on this by referring to our article on Window Tint Aftercare Tips.
How to Remove Window Tint Bubbles
Even though you can take precautionary measures to minimize the occurrence of tint bubbles, there would be times that they are inevitable and you would have to seek for options to overcome these. Although it is not something to consider small and manageable on your own, there are some ways that you can remove window tint bubbles using few simple tools at home. Removing the tint bubbles would be a slow and long process that requires proper attention. But it is not difficult, and all you need is to follow the following steps closely.
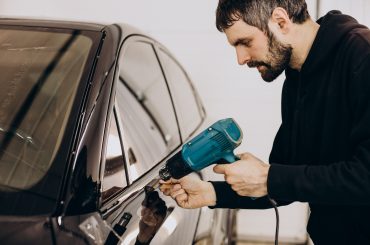
- Warm the surface of the tint by parking the car out in the sun for a few hours or using a hairdryer at a safe distance, not to harm the film. The ideal temperature would be when the window is warm to the touch. Do not overheat.
- Then slightly wet the window to just enough to create moisture like a mist using a spray bottle. Do not make it soaking wet. The water should be at room temperature.
- Next, create a very tiny hole on the center of each bubble using a needle-like minute tip of a pin. Be careful not to rip off the film, poke too much or scratch the window.
- Check for more bubbles using a lint-free cloth.
- Then slightly heat the film again. Use a tool with a straight edge at an angle of 45 degrees to gently smoothen out the bubbles. Avoid too much pressure on the film when smoothing the bubbles to get out of the air.
Although this would work out fine for most of the air and soapy bubbles, the bubbles contaminated with dirt or debris may not be removed through these tiny holes. Therefore, you would have to remove the tint and apply a new film. If you need to learn how to remove your tint, refer to How to Remove Window Tint.
If you need to find about expenditure in getting professional help for the re-installation of your window tints, make sure to find details on How Much to Tint Windows.


